 US
US
 UK
UK UK
UK
Shopping Cart:
Your cart is currently empty.
NEED A LITTLE MORE?
-
-
-
 Shiny Wedding Sho... $19.99
 -
-
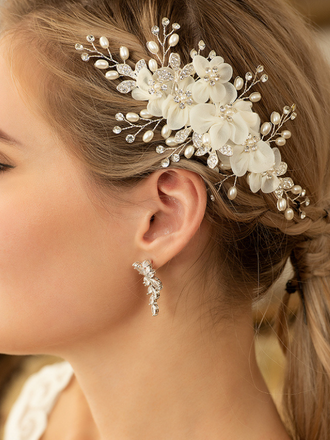
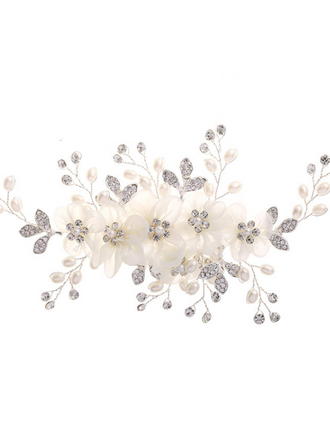
 Sparkly Luxury Pe... $19.99
 -

-
-
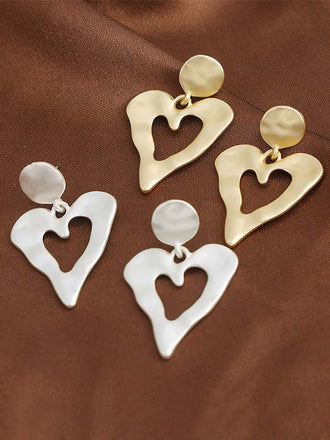
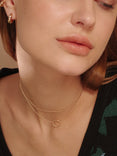 Layered Heart Nec... $23.99


Total:
$0.00

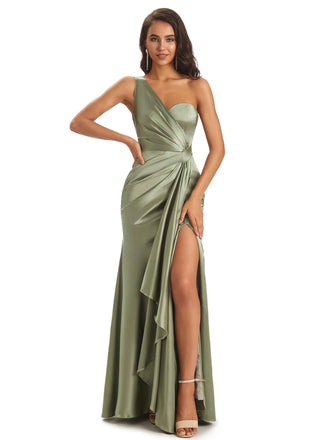
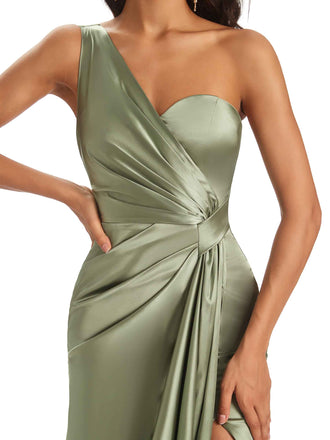
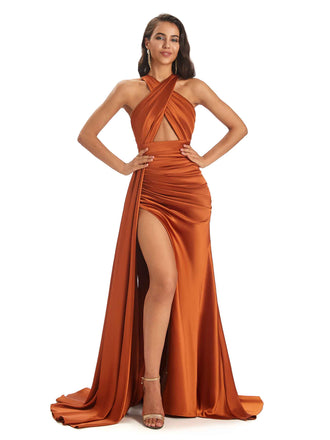
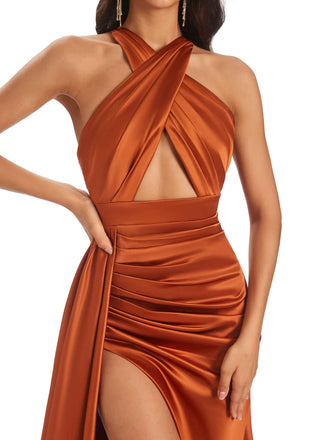
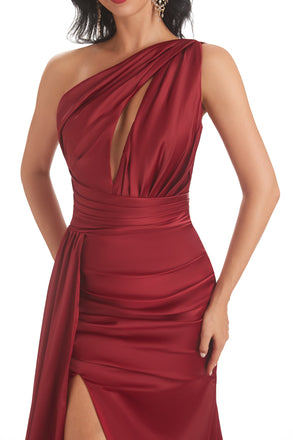
SHOP CHICSEW COLLECTION


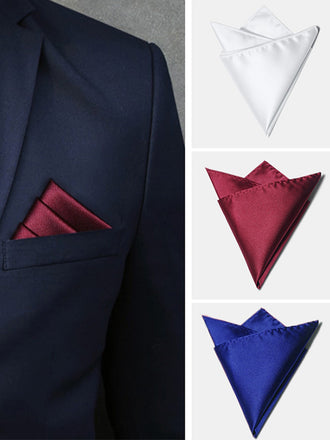
SHOP BY COLOR
Best Seller


Green


Blue


Silver


Black
Florals

All
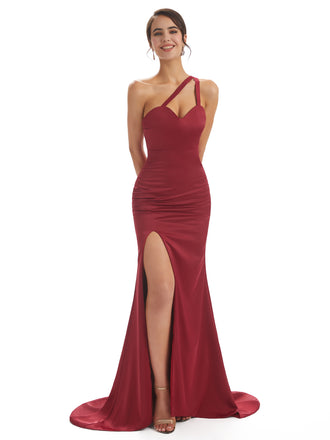
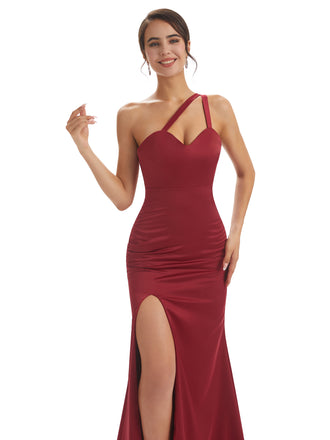
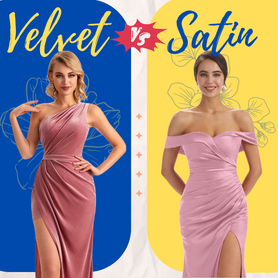
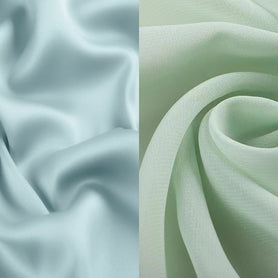
SHOP BY FABRIC


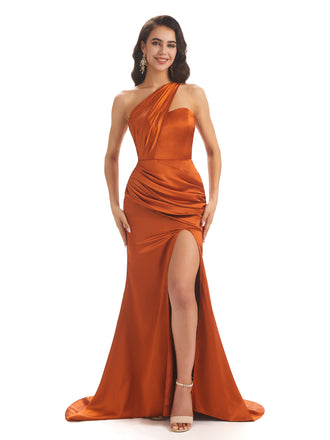

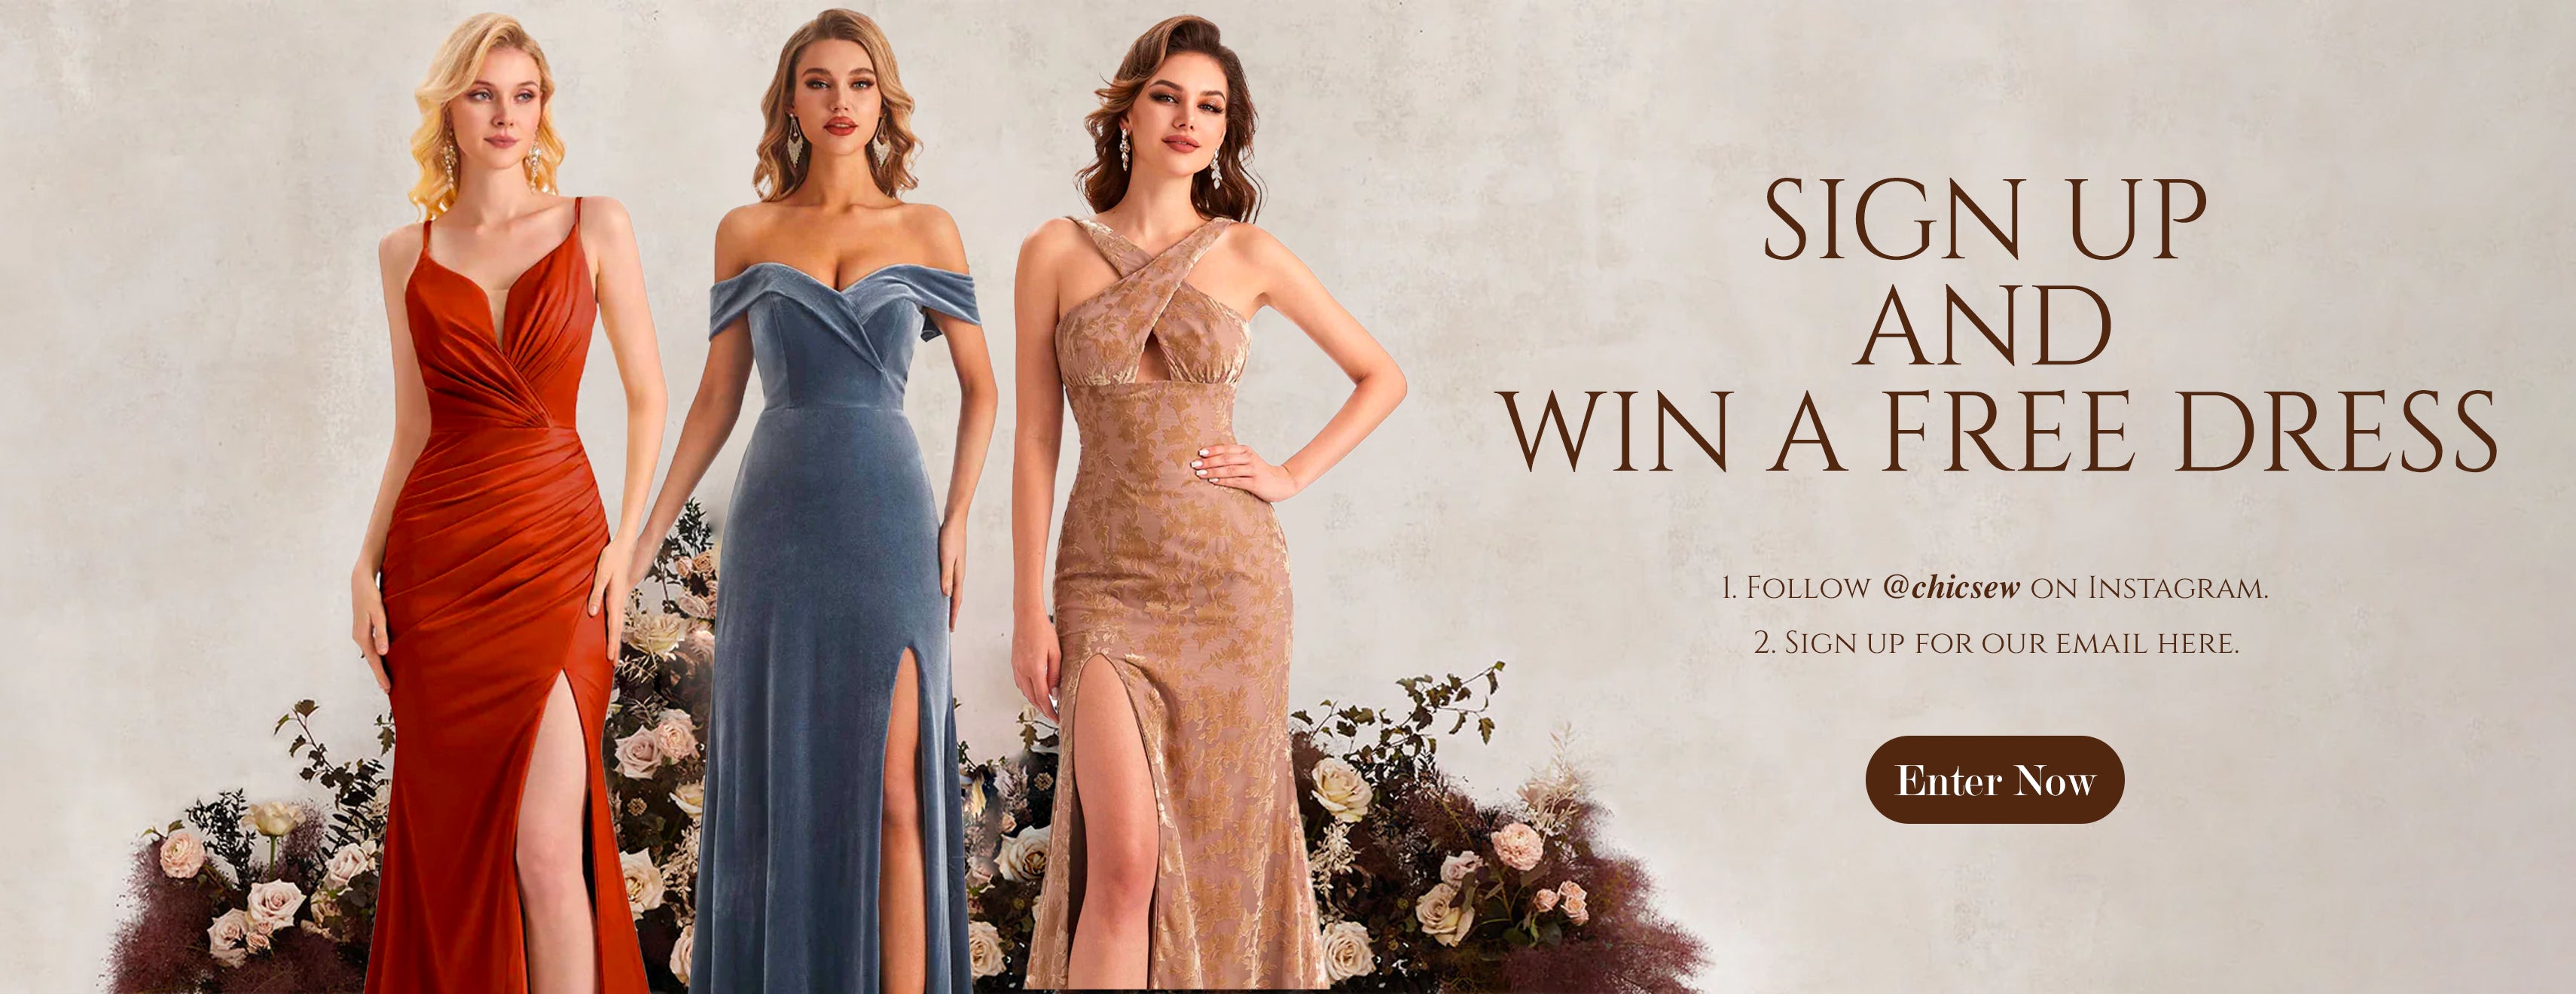
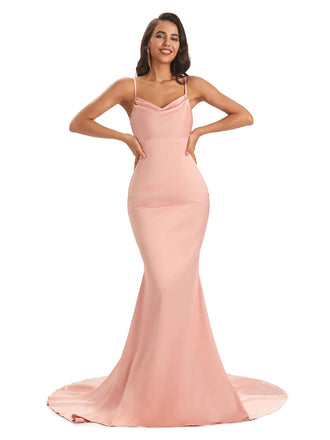
See what's new
It's a new season so we've brought you some new arrivals dresses to help you celebrate. Shop new season arrivals on the now!

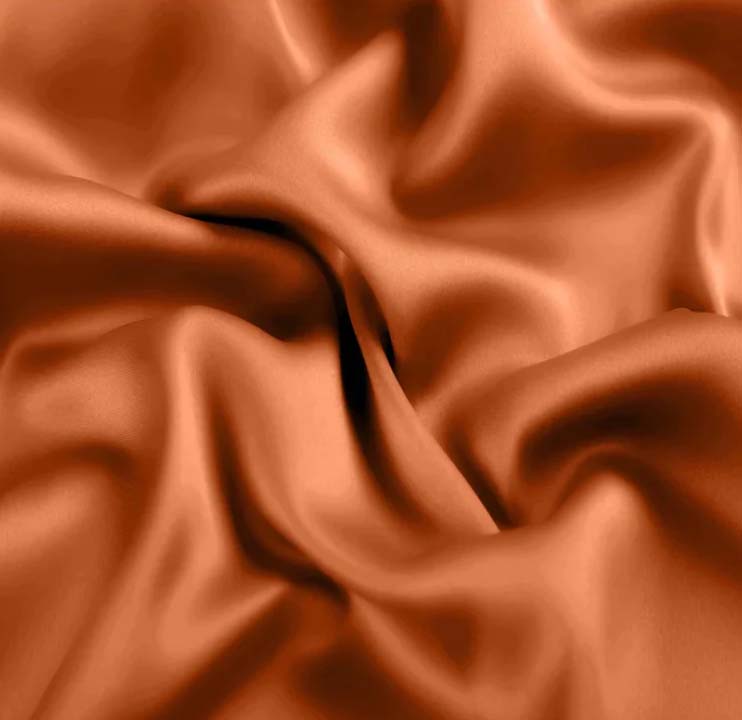
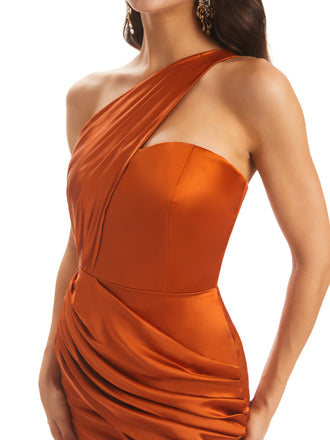
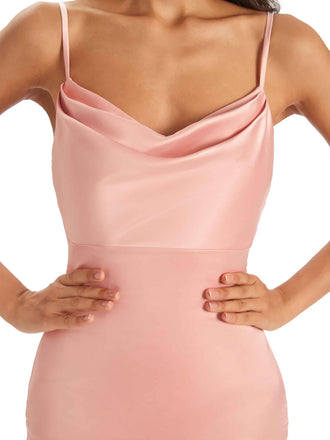
NEW fabric
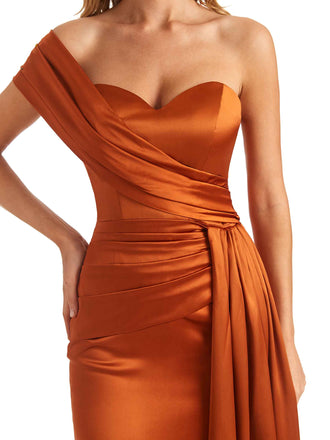
This floral velvet is made from the burnout technique that creates a semi-transparent velvet pattern against a solidly woven fabric, creating a delicate floral print.
*Share your look to get up to US$ 30 discount!

Social Media
 @chicsewofficial

Quick View
Shop The Look


Quick View

Quick View
Shop The Look


Quick View
Shop The Look

Quick View
Shop The Look

Quick View
Shop The Look

Quick View
Shop The Look


Quick View
Shop The Look

Quick View
Shop The Look
Quick View
Shop The Look
Quick View
Quick View
Shop The Look
Quick View
Shop The Look
Quick View
Shop The Look
Quick View
Shop The Look
Quick View
Shop The Look
Quick View
Shop The Look
Quick View
Shop The Look
FEATURED ON
Measurement guide

Note:
- Please don't wear tights or other clothing when you measure your selves, that would get your measurements even more bigger, as you will not wear clothing inside when you wear the dress.
- lf the difference between your actual measurements and the standard size is less than 1 inch, the dress will fit well. Otherwise. It’s advisable to choose a custom size.
- lf you have a larger belly, please provide us with the measurement of your waistline as well.
| US Size | US0 | US2 | US4 | US6 | US8 | US10 | US12 | US14 | US16 | US18 | US20 | US22 | US24 | US26 | US28 | US30 |
|---|---|---|---|---|---|---|---|---|---|---|---|---|---|---|---|---|
| UK Size | UK4 | UK6 | UK8 | UK10 | UK12 | UK14 | UK16 | UK18 | UK20 | UK22 | UK24 | UK26 | UK28 | UK30 | UK32 | UK34 |
| EU Size | EU32 | EU34 | EU36 | EU38 | EU40 | EU42 | EU44 | EU46 | EU48 | EU50 | EU52 | EU54 | EU56 | EU58 | EU60 | EU62 |
| Bust (inch) | 32 | 33 | 34 | 35 | 36 | 37 ½ | 39 | 41 | 43 ¼ | 45 ½ | 47 ¾ | 50 | 53 | 56 | 59 | 63 |
| Waist (inch) | 25 ½ | 26 ½ | 27 ½ | 28 ½ | 29 ½ | 31 | 32 ½ | 34 ¾ | 37 ¼ | 39 ¾ | 42 ¼ | 44 ¾ | 48 | 51 ¼ | 54 ½ | 58 ¾ |
| Hips (inch) | 35 ½ | 36 ½ | 37 ½ | 38 ½ | 39 ½ | 41 | 42 ½ | 44 ½ | 46 ¾ | 49 | 51 ¼ | 53 ½ | 56 ½ | 59 ½ | 62 ½ | 66 ½ |
| Bust (cm) | 81 | 84 | 86 | 89 | 91 | 95 | 99 | 104 | 110 | 116 | 121 | 127 | 135 | 142 | 150 | 160 |
| Waist (cm) | 65 | 67 | 70 | 72 | 75 | 79 | 83 | 88 | 95 | 101 | 107 | 114 | 122 | 130 | 138 | 149 |
| Hips (cm) | 90 | 93 | 95 | 98 | 100 | 104 | 108 | 113 | 119 | 124 | 130 | 136 | 144 | 151 | 159 | 169 |
| US Size | UK Size | Bust (in) | Waist (in) | Hips (in) |
|---|---|---|---|---|
| US0 | UK4 | 32 | 25 ½ | 35 ½ |
| US2 | UK6 | 33 | 26 ½ | 36 ½ |
| US4 | UK8 | 34 | 27 ½ | 37 ½ |
| US6 | UK10 | 35 | 28 ½ | 38 ½ |
| US8 | UK12 | 36 | 29 ½ | 39 ½ |
| US10 | UK14 | 37 ½ | 31 | 41 |
| US12 | UK16 | 39 | 32 ½ | 42 ½ |
| US14 | UK18 | 41 | 34 ¾ | 44 ½ |
| US16 | UK20 | 43 ¼ | 37 ¼ | 46 ¾ |
| US18 | UK22 | 45 ½ | 39 ¾ | 49 |
| US20 | UK24 | 47 ¾ | 42 ¼ | 51 ¼ |
| US22 | UK26 | 50 | 44 ¾ | 53 ½ |
| US24 | UK28 | 53 | 48 | 56 ½ |
| US26 | UK30 | 56 | 51 ¼ | 59 ½ |
| US28 | UK32 | 59 | 54 ½ | 62 ½ |
| US30 | UK34 | 63 | 58 ¾ | 66 ½ |
| US Size | UK Size | Bust (cm) | Waist (cm) | Hips (cm) |
|---|---|---|---|---|
| US0 | UK4 | 81 | 65 | 90 |
| US2 | UK6 | 84 | 67 | 93 |
| US4 | UK8 | 86 | 70 | 95 |
| US6 | UK10 | 89 | 72 | 98 |
| US8 | UK12 | 91 | 75 | 100 |
| US10 | UK14 | 95 | 79 | 104 |
| US12 | UK16 | 99 | 83 | 108 |
| US14 | UK18 | 104 | 88 | 113 |
| US16 | UK20 | 110 | 95 | 119 |
| US18 | UK22 | 116 | 101 | 124 |
| US20 | UK24 | 121 | 107 | 130 |
| US22 | UK26 | 127 | 114 | 136 |
| US24 | UK28 | 135 | 122 | 144 |
| US26 | UK30 | 142 | 130 | 151 |
| US28 | UK32 | 150 | 138 | 159 |
| US30 | UK34 | 160 | 149 | 169 |
BUST
Wear the bra you will be wearing with the dress,and pull the tape across the fullest part of the bust.
WAIST
Pull tape across the narrowest part (about 1'' above your belly button) and keep tape slightly loose to allow for beathing room. but if you have big belly, please give us measurements of belly in the note too.
HIP
Stand straight and pull tape across the widest part of the hips and rear, if butt is bigger than hip, please give us butt too.
Hollow to Hem
Stand up straight and measure from the the center of the collarbone,down to where the hem of the dress should hit(excluding any train).
Note:
- Please don't wear tights or other clothing when you measure your selves, that would get your measurements even more bigger, as you will not wear clothing inside when you wear the dress.
- lf the difference between your actual measurements and the standard size is less than 1 inch, the dress will fit well. Otherwise. It’s advisable to choose a custom size.
- lf you have a larger belly, please provide us with the measurement of your waistline as well.